Create a custom shortcut on Mac
It’s easy to create a new, custom shortcut using the Shortcuts app for Mac:
Step 1: Create a new shortcut in your shortcuts collection.
Step 2: Add actions in the shortcut editor.
Step 3: Run your new shortcut to test it.
Create a new shortcut
In the Shortcuts app
 on your Mac, click
  in the toolbar.
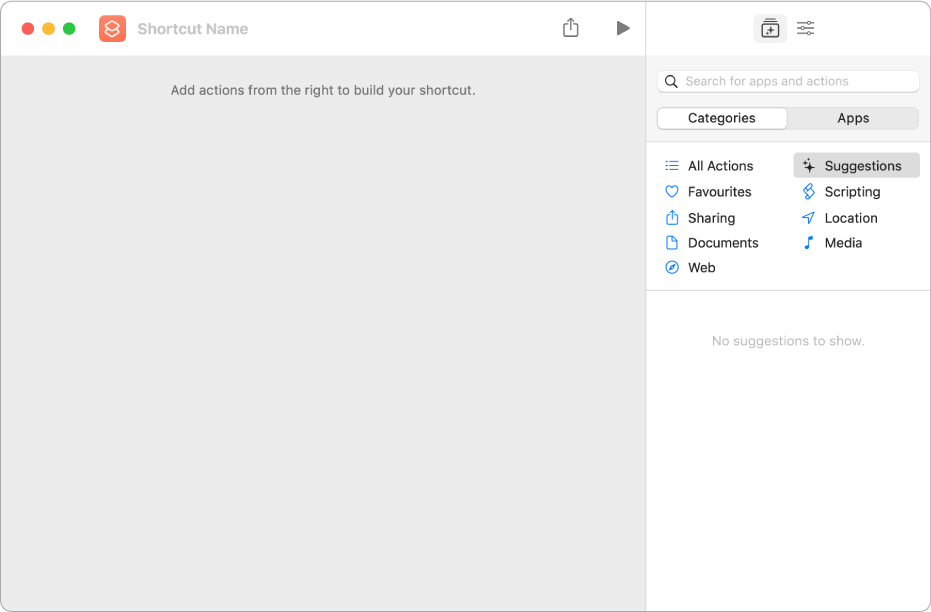
An empty, untitled shortcut appears in the shortcut editor.

Click Shortcut Name, then type a name for your shortcut.
If Siri is enabled in macOS, a “Hey Siri” command is displayed below the name.
Select a category from the sidebar on the right (Documents, for example), then double-click an action in the list that appears.
You can also drag an action from the list to the position you want in the shortcut editor.
To add another action, repeat step 3.
When you’ve finished adding actions to your workflow, click the close button.
The shortcut appears in the main Shortcuts window, in the All Shortcuts category.
For information on customising the appearance of your new shortcut (the rectangle in your shortcuts collection), see Modify shortcut colours and icons on Mac.
To test your new shortcut click
 .
.To stop the shortcut, click
 .
.
Tip: You can also create a new shortcut by Control-clicking the Shortcuts app in the Dock and then choosing New Shortcut.
For information on rearranging your shortcuts collection, see Reorder shortcuts on Mac.
Undo or redo steps while composing your shortcut
In the shortcut editor of the Shortcuts app
 on Mac, choose Undo from the Edit menu (or press Command-Z) or Redo from the Edit menu (or press Shift-Command-Z).
You can also click
 on an action to remove it from the shortcut editor.