iPhone 12 Pro Camera
Before You Begin
 Warning
Read Battery Safety and follow workspace and battery handling guidelines before you begin.
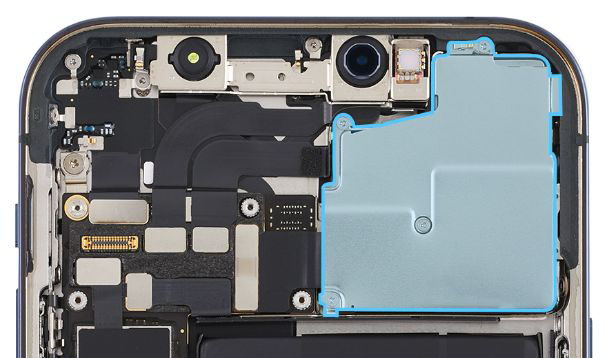
Remove the following part before you begin:
Tools
6.1-inch repair tray
ESD-safe tweezers
Micro stix bit
Nitrile or lint-free gloves
Nylon probe (black stick)
Torque driver (black, 0.35 kgf cm)
 Caution
To avoid damaging the lenses, don’t touch the TrueDepth camera assembly or nearby parts.
Avoid the grounding springs on the camera cowling and enclosure.

Important
If you replace this part, it is recommended to run Repair Assistant in order to finish the repair. Repair Assistant will be available on the device after you’ve completed all reassembly steps.
Removal
Place the enclosure in the repair tray with the Lightning connector facing the cutout.
Use a torque driver and the Micro stix bit to remove the four trilobe screws from the camera cowling in the order shown. Set aside the screws.

Use ESD-safe tweezers to tilt up the left side of the camera cowling as shown. Then slide the camera cowling out of the enclosure. Save the cowling for reassembly.

Use ESD-safe tweezers to gently lift the end of the top camera flex cable off the connector.
Note: One camera flex cable covers the other.

Use ESD-safe tweezers to gently lift the end of the bottom camera flex cable off the connector.

Gently hold the camera flex cables together and lift the cameras out of the enclosure.

Reassembly
Put on the gloves to prevent contamination of the camera lenses. Then hold the replacement cameras with the lenses facedown and remove the protective cover from the camera lenses.
Tilt down the cameras under the lip of the enclosure. Then lower the cameras into position.

Press the end of the bottom camera flex cable to the connector.
Press the end of the top camera flex cable to the connector.
Lightly press the cameras into the enclosure.
The camera cowling has tabs that fit into slots under the lip on the right side of the enclosure. Inspect the tabs and grounding spring on the cowling for damage before reassembly.

Hold the cowling with ESD-safe tweezers and slide the cowling tabs into the slots. Then lower the cowling onto the cameras.
- Caution
Avoid touching the grounding spring as you reinstall the camera cowling.
Ensure that the screw cutouts in the camera cowling align with the screw holes. A misaligned camera cowling may affect display image quality.

Use the black torque driver and Micro stix bit to install four new trilobe screws (923-05055) (1) (923-05054) (2–4) into the camera cowling in the order shown.

Reinstall the following part to complete reassembly:
Important
After you’ve completed all reassembly steps, Repair Assistant will be available on the device and is recommended to finish the repair. Learn how to initiate Repair Assistant.
Camera calibration requires a well-lit room and will take approximately 5 minutes to complete. Follow the onscreen instructions.