Place objects with text in Pages for iCloud
In page layout documents, objects you add to a page are always anchored to a specific location (wherever you position them on the page). In word-processing documents, you can choose what objects are anchored to:
A specific location on the page: The object doesn’t move as you add text or other objects to the page.
Specific text: The object moves as you edit text, keeping the same relative position to its anchor in the text.
You can also choose how text flows (or wraps) with objects in a word-processing document. For example, text can wrap all around an object or just above and below it. Some objects can also be placed inline with text anywhere in the document, so they sit with and move with the text as you type. In both page layout and word-processing documents, many objects can also be pasted inline with the text inside a text box or shape.

Anchor an object to the page or to text
In word-processing documents, you can change where an object is anchored—to its location on the page or to specific text. If anchored to text, the object moves with the text as you type, keeping the same relative position to its anchor (indicated by a marker ![]() ) in the text.
) in the text.
Note: You can’t set linked text boxes to Move with Text; they must be set to Stay on Page.
Select the object.
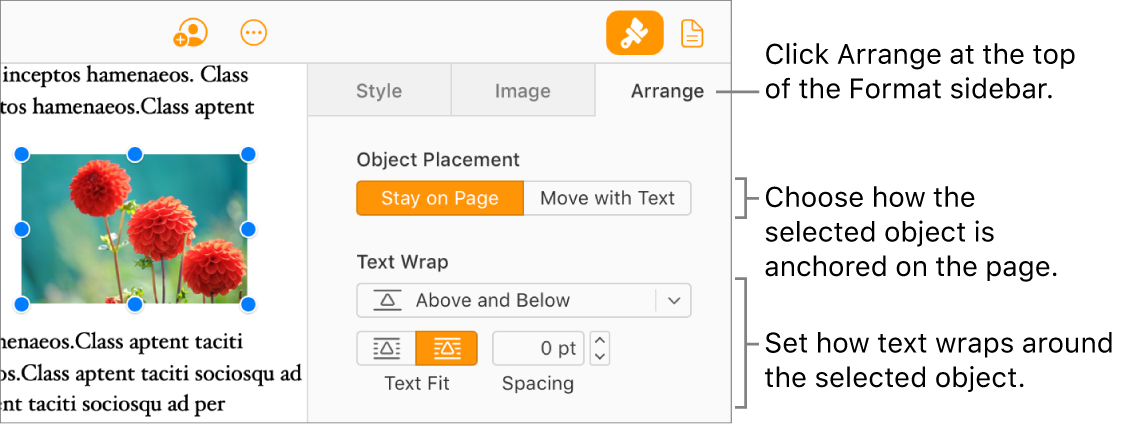
Click Arrange at the top of the Format
 sidebar on the right.
 Below Object Placement, choose an option:
Stay on Page: The object stays wherever you position it on the page; it doesn’t move as you add text or other objects.
Move with Text: The object maintains its position in relation to the text it’s anchored to. A marker
 is displayed in the text where the object is anchored.
 To change where the object is anchored, drag the object to a new location (the anchor moves as well).
Note: If you choose Move with Text, then set the text wrap to Inline with Text, the object moves inline (on the same line) with the text and the relative anchor marker disappears. To keep the object in a relative position to the text, choose a different text wrap option.
Wrap text around an object
If you’re working in a word-processing document, you can choose how text wraps around objects.
Select an object.
Click Arrange at the top of the Format
 sidebar on the right.
Click the Text Wrap pop-up menu, then choose an option:
Automatic: Text flows around the object as appropriate for the object’s placement on the page in relation to surrounding text.
Around: Text flows on all sides of the object.
Above and Below: Text flows above and below the object, but not on the sides.
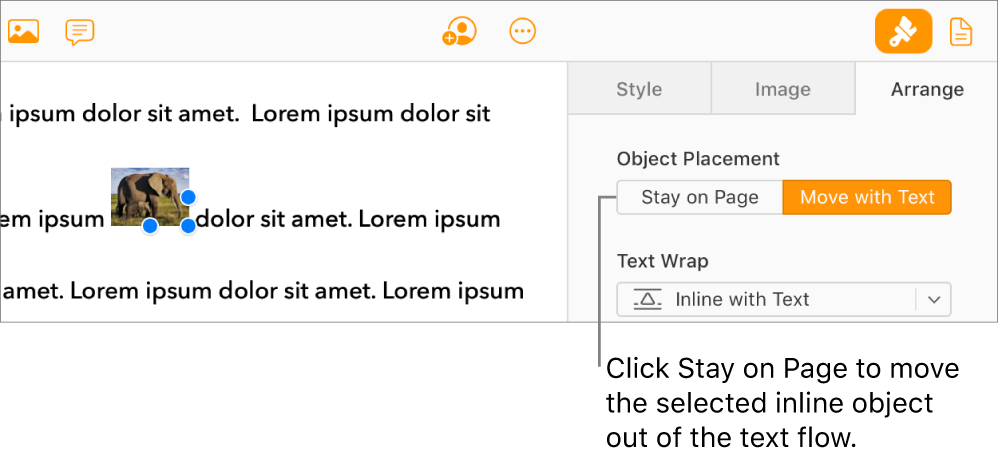
Inline with text: The object sits on the baseline of the text and moves with the text as you type. (If you don’t see this option, make sure Move with Text is selected.)
If the object isn’t positioned where you want it, drag it to a new location in the text.
Note: You can’t place linked text boxes inline (they must be set to Stay on Page).
None: The object doesn’t affect the flow of text.
If the object isn’t rectangular and you want the text to follow the object’s outline, click the Text Fit button on the right (below Text Wrap in the sidebar).
To change the amount of space between the text and the object, adjust the value in the Spacing field.
Tip: In page layout documents, you can wrap text (in a text box or shape) around an image or another text box by making sure the object you want to wrap around is layered in front of the text box or shape: select the object, then click Front in the Arrange tab of the sidebar.
Place objects inline with text in a text box or shape
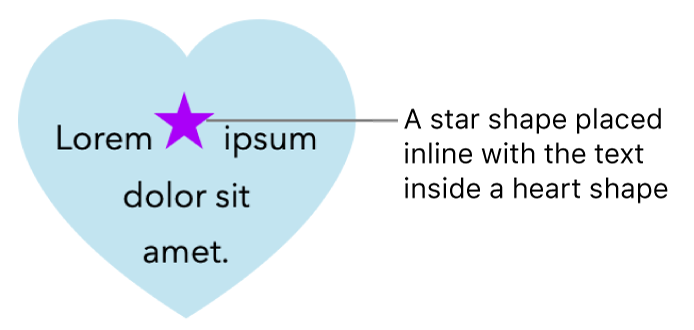
You can place images, image galleries, videos, and shapes inside a text box or shape; the inner (nested) object automatically appears inline with any text in the outer text box or shape (parent object).

If you haven’t already added a text box or shape to your page, or haven’t added the object you want to place inside it, click the object buttons in the toolbar to add the objects you want to work with.
Select the object you want to nest, then press Command-X (on a Mac) or Control-X (on a Windows computer) to cut it.
Double-click the text box or shape where you want to paste the object so the insertion point appears inside it, then press Command-V (on a Mac) or Control-V (on a Windows computer) to paste the object.
The pasted object is nested inside the parent object. If you see a clipping indicator
 at the bottom of the object, you need to resize it to see all of its contents.
To add text, click inside the parent text box or shape so you see the insertion point, then type.
If you accidentally select the nested object (three selection handles appear), click outside it to move the insertion point into the parent object.
Tip: If the nested object is a shape, you can also type or paste an image or shape inside it. Select the nested shape, double-click inside it to see the insertion point, then type or paste the object.
Move an inline object to the page
You can move an inline object to the page so that it’s no longer inline with text or nested inside another object.
Do one of the following:
Select an inline object in the document body: Click it.
Select an inline object inside a text box or shape: Double-click it.
Three selection handles appear to show it’s selected.
Click Arrange at the top of the Format
 sidebar on the right.
Click Stay on Page or Move to Page.
The button name depends on whether the selected object is inline with the body text or inside an object.
