
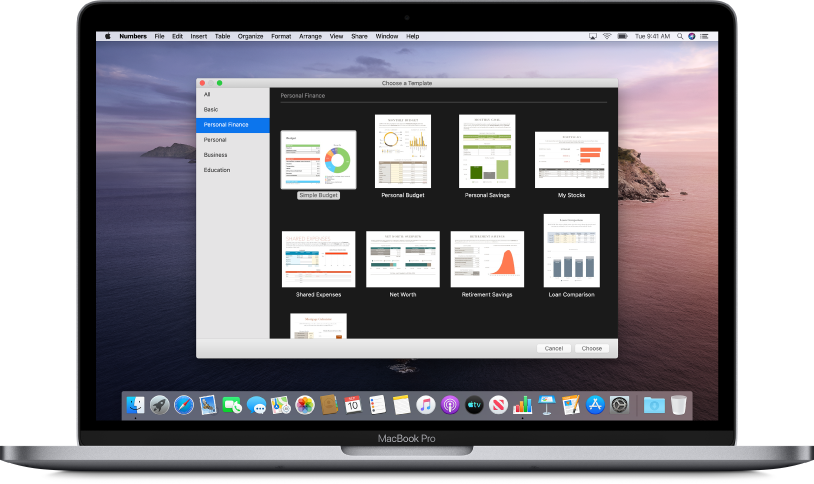
Get started with a template
All spreadsheets begin with a template—a model you can use as a starting point. Replace the template’s charts and data with your own content, and add new tables, formulas, and more.
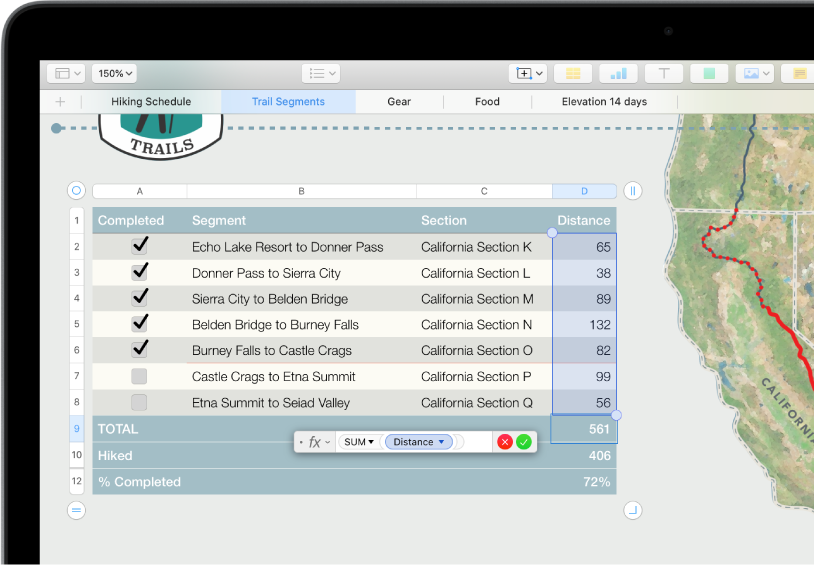
Add data to a table
Enter your own data or import data from another file. You can also choose from a wide range of preset formulas, like sum or average, to add to any cell. To fit all your data, add more rows and columns.
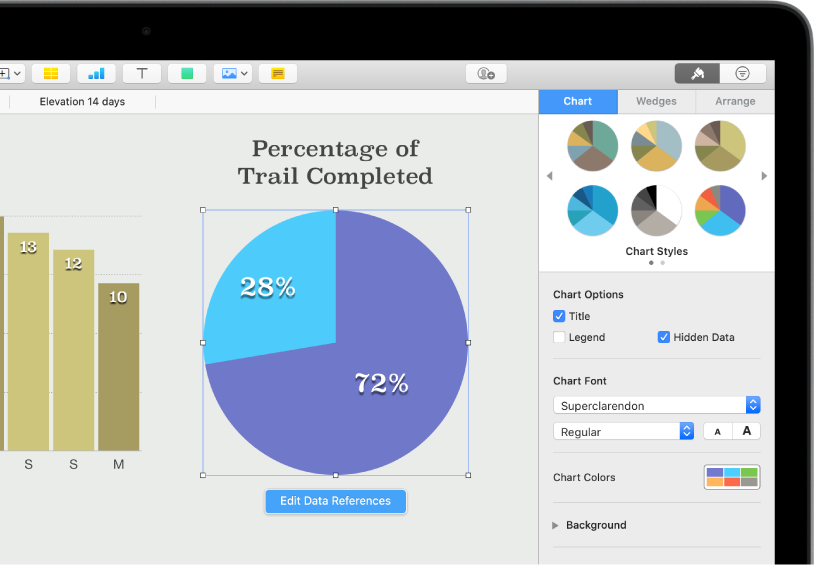
Create a chart
Illustrate your data with a 2D or interactive chart. When you make changes to the data in the table, the chart updates automatically.
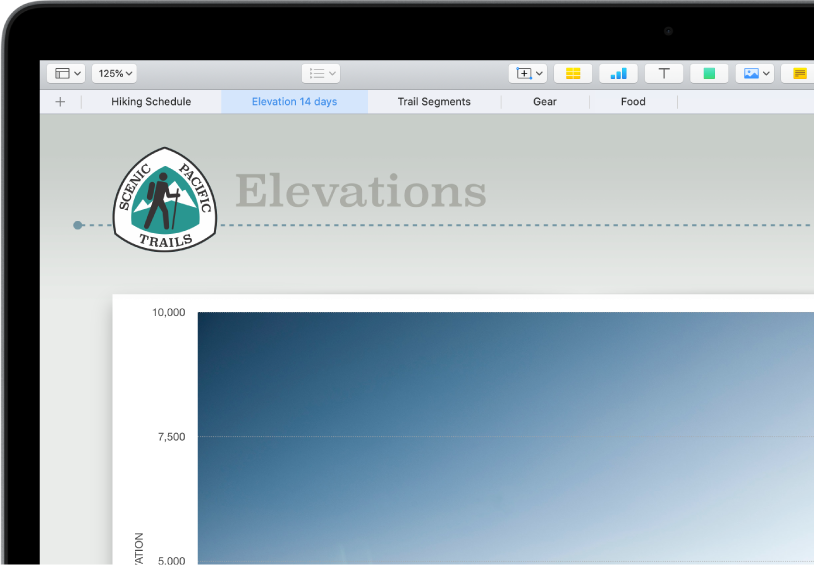
Get organized with sheets
Organize your spreadsheet with different sheets for each type of information you want to track—income, expenses, and so on. Then just click a tab at the top of the spreadsheet to switch to the sheet you want to see.
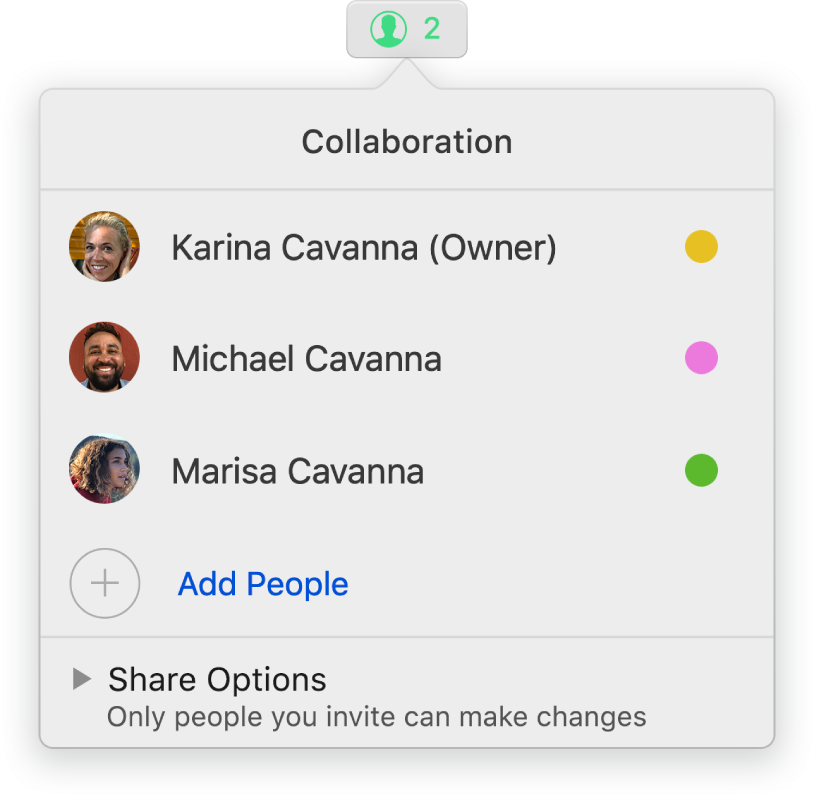
Collaborate in real time
Invite others to work with you on your spreadsheet. Everyone you invite can see changes as they’re made, but you control who can edit or only view the spreadsheet.
This guide helps you get started using Numbers 6.2 on your Mac. To see the version of Numbers on your Mac, choose Numbers > About Numbers (from the Numbers menu at the top of your screen). To browse this guide, click Table of Contents near the top of this page. You can also download the guide from Apple Books (where available).
If you need more help, visit the Numbers Support website.
Numbers User Guide for Mac
- Welcome
-
- Intro to Numbers
- Intro to images, charts, and other objects
- Create a spreadsheet
- Open or close spreadsheets
- Personalize templates
- Use sheets
- Undo or redo changes
- Save your spreadsheet
- Find a spreadsheet
- Delete a spreadsheet
- Print a spreadsheet
- Touch Bar for Numbers
- Use VoiceOver to create a spreadsheet
-
- Use iCloud with Numbers
- Import an Excel or text file
- Export to Excel or another file format
- Reduce the spreadsheet file size
- Save a large spreadsheet as a package file
- Restore an earlier version of a spreadsheet
- Move a spreadsheet
- Lock a spreadsheet
- Password-protect a spreadsheet
- Create and manage templates
- Copyright