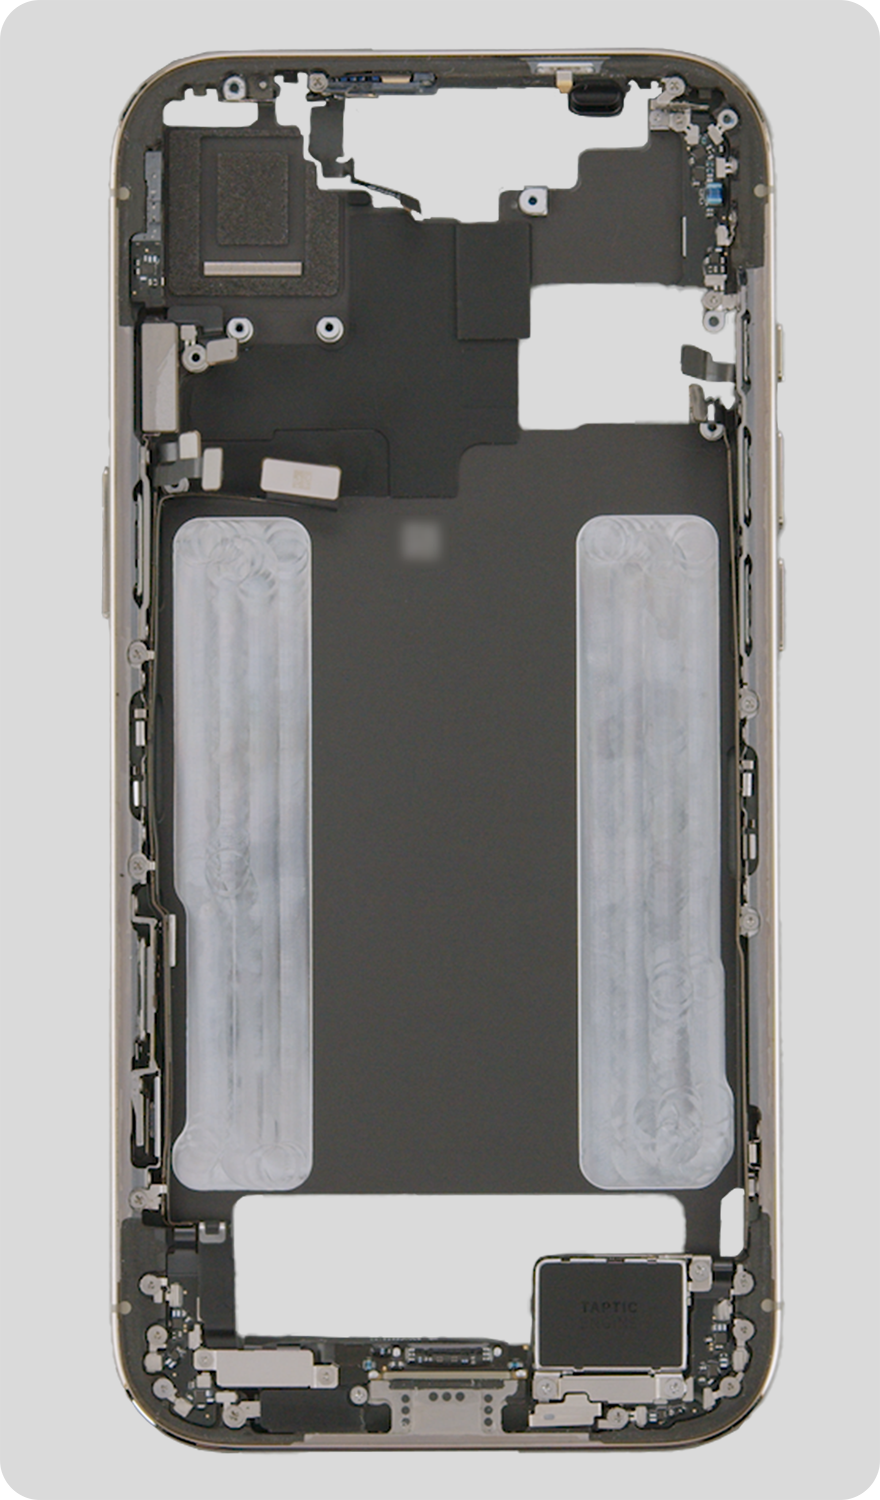
iPhone Air Enclosure
Before You Begin
 Warning
Read Battery Safety and follow workspace and battery handling guidelines before you begin.
Tools
Refer to a full list of tools required for all repairs.
Important
Order the correct color enclosure for the iPhone.
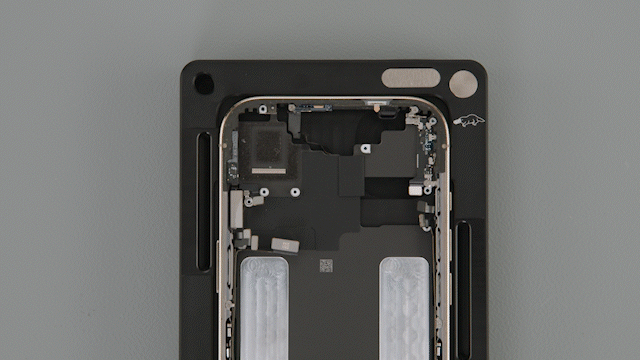
Removal
Complete all display removal steps to remove the display from the enclosure. Save the display for reassembly.
Note: Clean all residual adhesive from the display.
Complete all logic board removal steps to remove the logic board from the enclosure. Save the logic board for reassembly.
Note:
Save back glass, camera, top speaker, and front camera for reassembly.
Clean all residual adhesive from the logic board.
Save the grounding spring for reassembly.
Complete all battery removal steps to remove the battery from the enclosure. Save the battery for reassembly.
Reassembly
Screw Diagram

Warning
It’s recommended to only install new batteries. Used battery cells can become damaged during the removal process. Read Battery Safety to learn more.
 Caution
Remove all liners from the replacement enclosure.
Position the grounding spring (923-13699) in the replacement enclosure.
Complete logic board reassembly steps 1 through 10 to install the existing logic board into the replacement enclosure.
Complete all display reassembly steps to install the existing display into the replacement enclosure.
Complete all battery reassembly steps to install the existing battery into the replacement enclosure.
Complete all top speaker reassembly steps to install the existing top speaker into the replacement enclosure.
Complete all camera reassembly steps to install the existing camera into the replacement enclosure.
- Caution: If the adhesive is not attached to the camera, adhere a replacement adhesive (923-13988) before installing the camera.
Complete all front camera reassembly steps to install the existing front camera into the replacement enclosure.
Complete all back glass reassembly steps to install the existing back glass into the replacement enclosure.