Use Live Loops in Logic Pro for Mac
With Live Loops in Logic Pro 10.5 or later, create music in freeform and nonlinear ways by organizing loops, samples, and recordings into a musical grid.
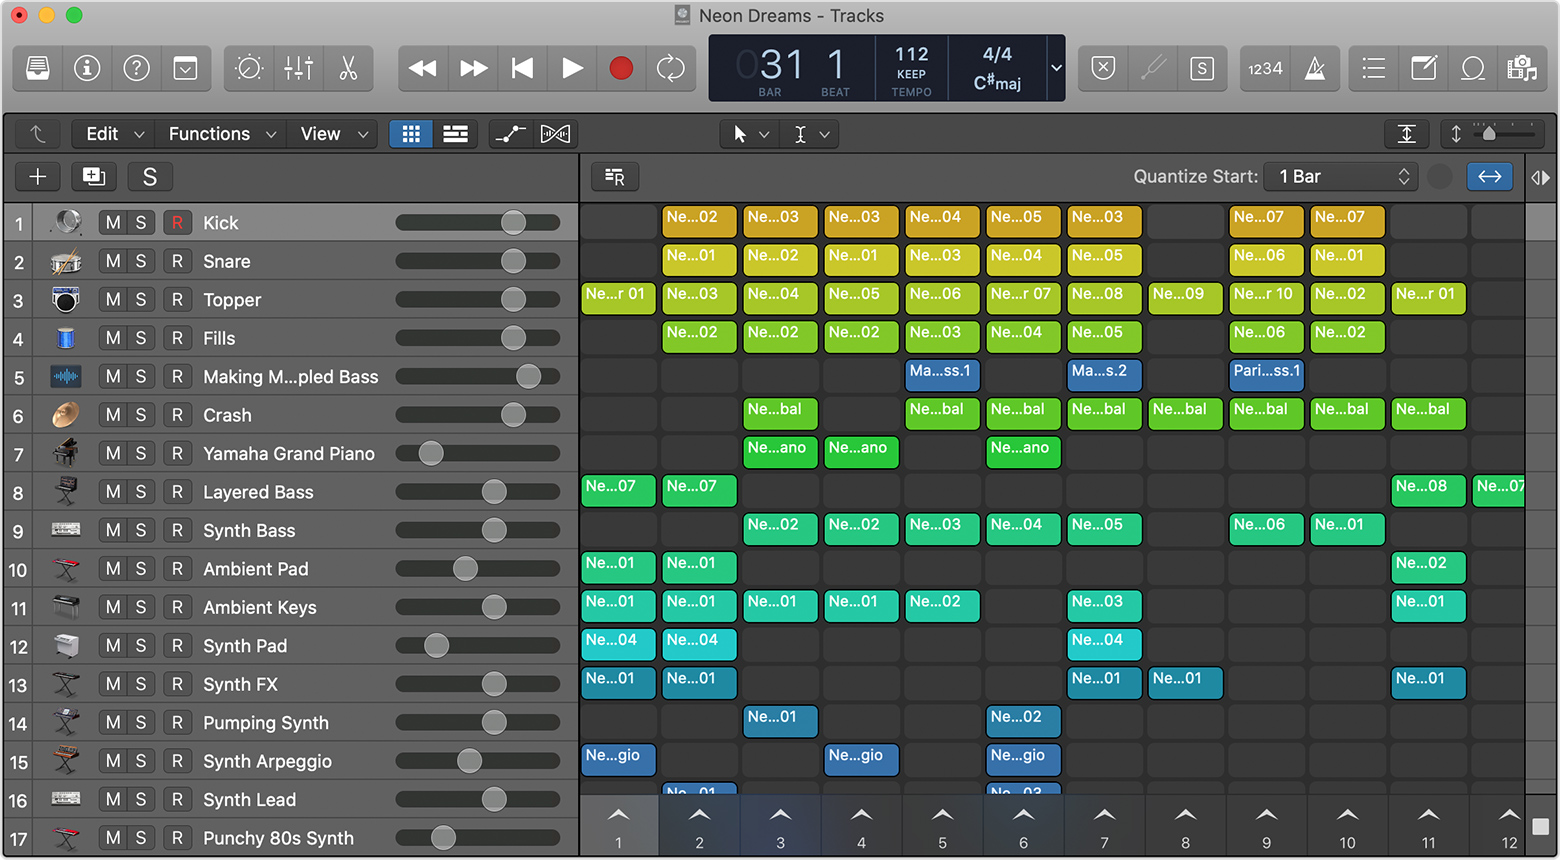
Use Live Loops to arrange and play with musical ideas in real time in a grid of cells, each containing a musical phrase or loop. Create a Live Loops project, and add the same kinds of regions to cells that you can add to tracks in the Tracks area—audio, MIDI, Step Sequencer Pattern and Drummer regions, and more. You can even record audio or MIDI directly into a cell. Then, play back cells individually or as entire columns (called scenes), experimenting with different combinations until you've found just the right arrangement.
You can also use Live Loops in tandem with the Tracks area: copy regions from Live Loops to the Tracks area and vice-versa. And when you've come up with a great arrangement using Live Loops, record the performance into the Tracks area timeline.
Live Loops is fully integrated with Logic Remote, which provides additional functionality such as Multi-Touch control of both Live Loops and Remix FX.
Create a Live Loops Project
To quickly get started with Live Loops, use a Live Loops template to create a new project optimized for Live Loops, such as a starter grid template. Using a starter grid is a great way to get to know the Live Loops interface.
In Logic Pro, choose File > New from Template (or press Command-N), then select an option from the list on the left:
To create a new, empty Live Loops project, click New Project, then select Live Loops.
To open a Live Loops project that includes cells prepopulated with Apple Loops, MIDI regions, and more, click Starter Grids, select the starter grid you want to open, then click Choose.
Track headers for each track appear along the left of the main window, just like in the Tracks area. If you chose a starter grid template, the Logic Pro main window opens to the Live Loops grid in the Logic Pro main window, with cells containing regions.
Many of the starter grids have Remix FX inserted on the Stereo Out channel. Use the buttons, sliders, and XY pads in Remix FX with Live Loops to add real-time effects, especially in a Live Loops performance. When using Remix FX in Logic Remote, you can use Multi-Touch to add multiple simultaneous effects like repeaters, filters, gates, bit crusher, and more.
Play Live Loops
To play cells in the Live Loops grid, you can play a single cell, all cells in a scene, or a combination of cells in any scenes. Cells and scenes are nonlinear, so you can play cells and scenes in any order. However, only one cell per track can play at the same time.
To play a single cell, click the play button
 that appears when your pointer is over the cell.
 To play a scene, click the scene trigger button
 at the bottom of a scene, above the numbers. All the cells in the scene start playing simultaneously.
To play a selection of cells from different scenes, press and hold Shift while selecting the cells, then press Return.
When using Logic Remote with Live Loops, you can use Multi-Touch and swipe gestures to start multiple cells at once.
Cells play at the project tempo and, when set to loop, continue to loop until you play a different cell or scene. Indicators in the cell and at the end of the cell’s row show the cell's progress.
Start other cells and scenes
While cells and scenes are playing, you can select other cells and scenes for playback to create seamless transitions between cells. To play a different cell or scene, simply click a different cell or scene trigger button![]() . The selected cells flash, then start automatically based on the setting in the Quantize Start pop-up menu. To change how quickly cells start playing after you select them, choose a different option from the Quantize Start pop-up menu.
. The selected cells flash, then start automatically based on the setting in the Quantize Start pop-up menu. To change how quickly cells start playing after you select them, choose a different option from the Quantize Start pop-up menu.
You can also queue cells and scenes to start playing when project playback starts or when you want cells in different scenes to start at the same time. Learn more about starting and stopping Live Loops, queuing cells and scenes, and different quantize start options.
Stop playback
When cells are set to loop, they play until you stop playback:
To stop an individual cell, click the Stop button
 on the cell.
To stop all cells immediately, including scenes and individual cells, press Stop
in the toolbar or press the Spacebar.To stop cells based on the current setting in the Quantize Start pop-up menu (for example, one bar), click the stop button
in the lower-right corner of the grid.
Add regions or loops to Live Loops cells
You can add regions or loops to cells, as long as the region or loop matches the track type for the track containing the cell. For example, you can add audio regions to cells on audio tracks, and MIDI or pattern regions to cells in rows on software instrument tracks.
To create a new track and row of cells in the Live Loops grid, drag a file, region, or loop from the Finder or any of the Logic Pro browsers to the Live Loops grid. You can also drag and drop to create software instrument tracks in the Live Loops grid.
Use Step Sequencer with Live Loops
A great way to add beats and other loops to a Live Loops project is with Step Sequencer. In an Instrument or External MIDI track, Control-click an empty cell, then choose Create Pattern Cell. Then, create your rhythmic or harmonic pattern in Step Sequencer.
The cell length determines the length of playback. If the cell is shorter than your pattern's length in Step Sequencer, you might not hear your entire pattern. If you want to hear the whole pattern, make the cell longer. And, if you're using a randomize command in the Function menu of the Step Sequencer to add random variation to a pattern, make the cell length longer for more variability.
Add Drummer regions to the Live Loops cells
You can add Drummer regions to Live Loop cells:
Choose Track > New Tracks, choose Drummer, then click Create.
In the Library, click the drummer you want.
In the track for the Drummer in the Live Loops grid, click the add drummer region button
 .
.
Each drummer cell can have its own patterns. You can also edit each drummer cell like other cells using the Cell inspector. With Drummer tracks, it’s a good idea to make the cell length longer so that loops have more variety.
Record to Live Loops cells
You can record directly to an audio or MIDI cell, even while other cells are playing. The settings for audio signal flow, software instruments, and the metronome are the same as when you record regions in the Tracks area.
Edit regions and loops in cells
You can edit individual cells using the Cell Editor and the Cell inspector.
Work with the Cell Editor in Logic Pro
You can use the Cell Editor to view and edit the regions in cells. The Cell Editor opens below the Live Loops grid and the Tracks area (if visible). Audio cells show the audio waveform of the cell, MIDI cells show a Piano Roll interface, Drummer cells show the Drummer Editor controls, and pattern cells show the Step Sequencer.
To open the Cell Editor, do any of these:
Double-click the top of a cell to open it in the Cell Editor.
Select a cell, then click the Editors button
 in the toolbar, or press the E key.
Select a cell, then choose View > Show Editor.
Work with the Cell inspector
Use the Cell inspector to change cell settings such as loop start and end points, cell length, play mode, and more. Select a cell in the grid, click the Inspector button![]() in the toolbar, then click the disclosure triangle next to Cell in the Inspector.
in the toolbar, then click the disclosure triangle next to Cell in the Inspector.
Use Live Loops with the Tracks area
When you work with both Live Loops and Tracks area in the same Logic Pro project, you can use Live Loops to experiment with song arrangements. For example, record and edit your parts in the Tracks area, then drag regions to cells in the Live Loops grid to arrange parts and sections.
After experimenting with arrangements by playing back cells and scenes, record a Live Loops performance to the Tracks area timeline to capture an arrangement idea. You can copy and paste cells from the Live Loops grid to the playhead in the Tracks view to quickly build up an arrangement. You can also insert entire scenes right into the Tracks area timeline.
See the Live Loops grid and the Tracks area simultaneously
Activate both the Live Loops Grid button![]() and Tracks View button View button
and Tracks View button View button![]() above the track headers. When both windows are visible, a divider between the windows contains buttons you can use to activate cells in the Live Loops grid or tracks in the Tracks area.
above the track headers. When both windows are visible, a divider between the windows contains buttons you can use to activate cells in the Live Loops grid or tracks in the Tracks area.

Switch playback between Live Loops cells or track regions
On each track you can either listen to the cells in the Live Loops grid, or to regions in the Tracks area — but not both simultaneously. Generally, cells have priority. If you start a cell, all regions on the same track become inactive and remain inactive after you stop the cell. You can reactivate the track regions using the divider column button.
When you move the pointer over the Divider Column while no cells are playing on a track, the track activation buttons in the Divider Column indicate the active area:
When the left arrow in the track activation button
 is filled, cells are active, and track regions are inactive. Either a cell is playing or was playing before. Click the button to activate track regions.
 When the right arrow in the track activation button
 is filled, track regions are active, and cells are inactive. Click the button to activate cells.
Toggle track activation at the next Quantize Start point
While a cell is playing, Option-click the Divider to simultaneously queue the cell and activate the regions in the tracks area. Option-click again on the Divider to simultaneously restart the queued cell and deactivate the regions in the tracks area.
Actions for all Tracks
To stop all cells at the next Quantize Start point, click the Stop button![]() at the bottom of the Divider column. To toggle the activation of all tracks—except those with cells that are playing back— click the Track Activation button
at the bottom of the Divider column. To toggle the activation of all tracks—except those with cells that are playing back— click the Track Activation button![]() at the top of the Divider column.
at the top of the Divider column.
Insert an entire Live Loops scene into the Tracks area
Quickly insert entire scenes right into the Tracks area timeline:
Make sure both Live Loops and the Tracks area are visible.
In the Live Loops grid, select the scene name (or number by default) at the bottom of the scene column.
In the Tracks area, move the playhead to the place in the timeline where you want to insert the scene.
Press Command-End.
In the Tracks area timeline, the playhead moves to the end of the newly-inserted regions, which makes it easy to insert another scene. By moving the arrow keys left and right, you can select different scenes in the Live Loops grid, pressing Command-End whenever you want to insert another scene.
Use Live Loops with Logic Remote
You can use Logic Remote on iPhone, iPad, or iPod touch to control Live Loops—start and stop cells and scenes, queue cells, and more.
With your Logic Pro project open, open Logic Remote and connect to Logic Pro.
Tap the View button
 in the control bar, then tap Live Loops.
Play cells and scenes:
To play or stop a cell, tap a cell.
To play a scene, tap the scene trigger
at the bottom of a scene, above the numbers. All the cells in the scene start playing.To play a selection of cells from different scenes, use Multi-Touch to select and play the cells.
Swipe across a group of cells to start or stop those cells at the same time.
You can control many other Live Loops functions in Logic Remote: start and stop cells, queue cells, edit cells and scenes, record to cells, use track controls in the grid, add Apple Loops, and record a Live Loops performance to the Tracks area.
Logic Remote is free and is available only on the App Store for iPhone, iPad, and iPod touch.
Need more help?
Tell us more about what's happening, and we’ll suggest what you can do next.
