
Extend or shorten clips in Final Cut Pro for Mac
You can trim a clip in your project by adjusting the start point or end point of the clip.
The default type of trim in Final Cut Pro is a ripple edit, which adjusts a clip’s start point or end point without leaving a gap in the timeline. The change in the clip’s duration ripples outward, moving all subsequent clips earlier or later in the timeline.
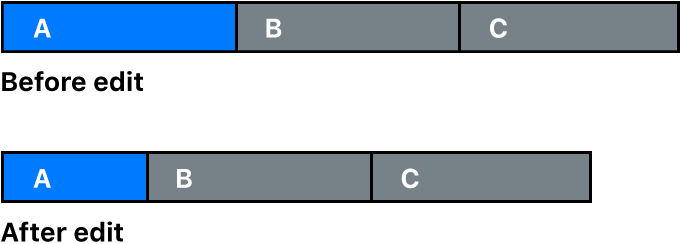
Similarly, if you delete a clip from the timeline, subsequent clips ripple earlier to close the gap. Ripple edits affect the trimmed clip, the position of all subsequent clips in the timeline, and the total duration of your project.
You can see a “two-up” display in the viewer as you trim edit points in the timeline. This display shows a more detailed view of each side of an edit point. See Show trimming details in the viewer in Final Cut Pro for Mac.
Drag edit points with the Select tool
In the Final Cut Pro timeline, move the pointer to the start point or the end point of the clip you want to trim.
The pointer changes from an arrow icon
 to a trim icon. The look of the trim icon changes to indicate whether the trim will affect the end point of the left clip or the start point of the right clip.
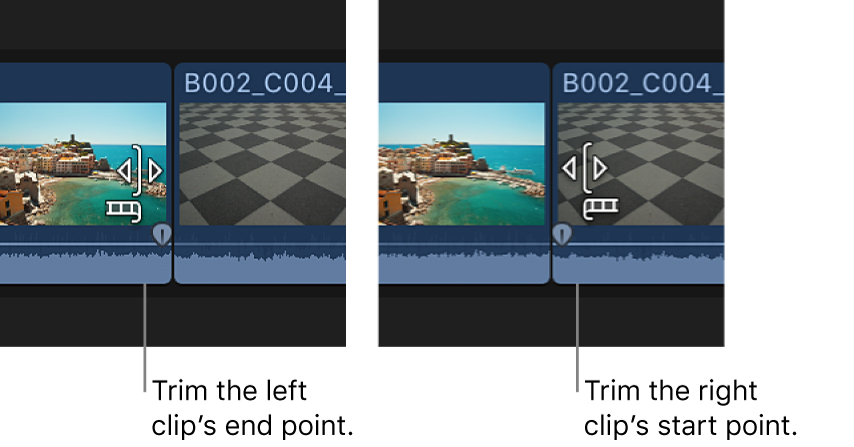
Drag the start point or the end point in the direction you want to trim the clip.
As you drag, the clip shortens or lengthens. Numerical timecode fields indicate the duration of the clip and the amount of time you’re moving the edit point.
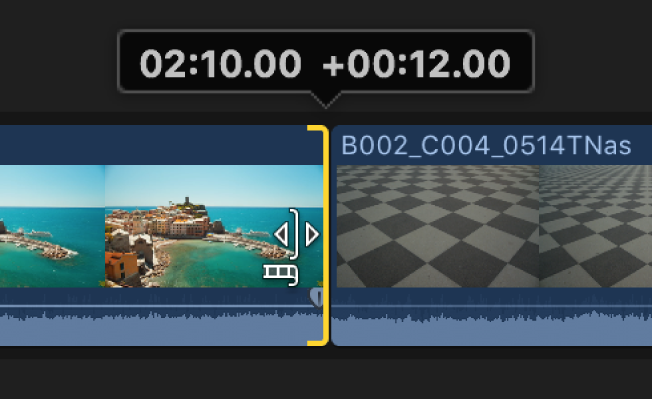
Any clips to the right of the edit point are rippled accordingly.
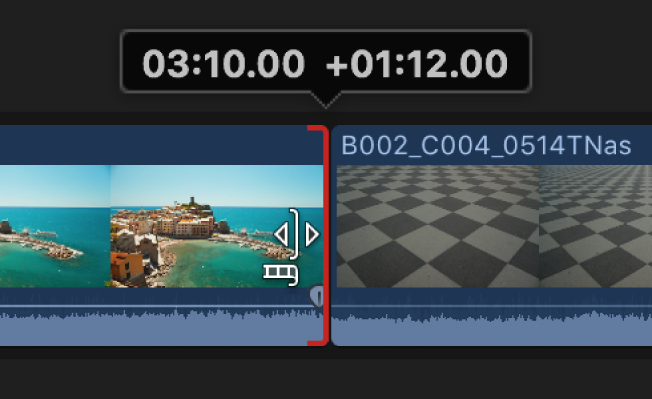
When you extend a clip to its maximum length in either direction, the clip edge turns red.
Enter a new duration for a clip using timecode
You can change the total duration of one or more selected clips by entering a timecode value.
In Final Cut Pro, select one or more clips in the timeline.
Do one of the following:
Choose Modify > Change Duration (or press Control-D).
Double-click the timecode display below the viewer.
The timecode display changes to reflect the total duration of the clip or clips you selected in step 1.

Enter a new duration for the selected clip.
The end point of the clip is moved to the duration you entered, and any subsequent timeline clips ripple accordingly. If you enter a duration longer than the available media in the clip, the duration is extended to the maximum length of the clip.
For more information about entering timecode values, see Navigate using timecode in Final Cut Pro for Mac.
Trim to a selection
In the Final Cut Pro timeline, select the part of a clip that you want to keep.
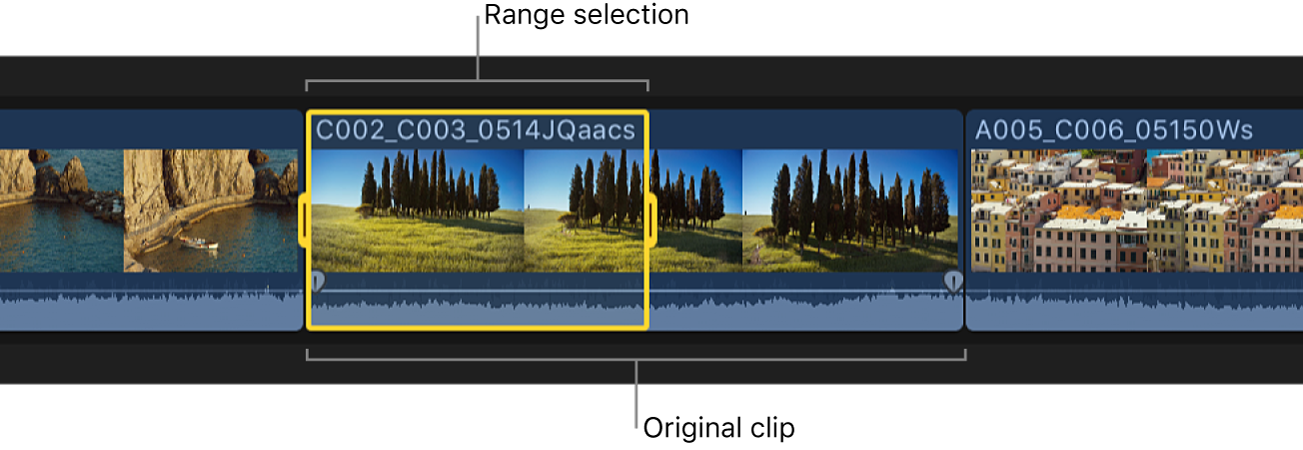
For information about making range selections, see Select ranges in Final Cut Pro for Mac.
Choose Trim > Trim Selection.
Final Cut Pro trims the clip start and end points to match the range selection.

The unwanted sections are removed from the clip and the project, and the subsequent clips in the project ripple accordingly.
Nudge edit points with keyboard shortcuts
You can fine-tune the start or end point of a clip using keyboard shortcuts. You can move the edit point by one or more video frames. You can also move the edit points of connected audio clips (those not in the primary storyline) by subframes.
In the Final Cut Pro timeline, select the start or end point of the clip you want to trim.
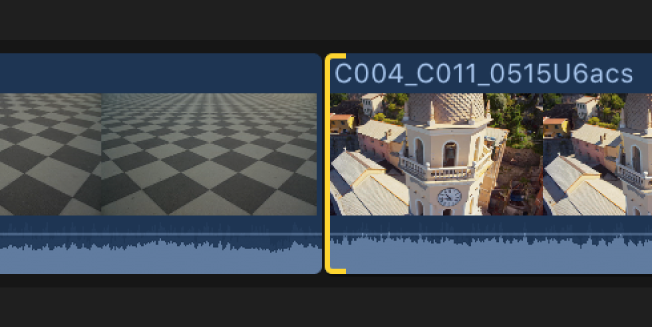
To move the edit point, do any of the following:
Move the edit point left by one frame: Press Comma (,).
Move the edit point left by 10 frames: Press Shift-Comma (,).
Move the edit point right by one frame: Press Period (.).
Move the edit point right by 10 frames: Press Shift-Period (.).
If you want to move the edit point of connected audio clips by one or more subframes, do any of the following:
Move the edit point left by one subframe: Press Option-Comma (,).
Move the edit point left by 10 subframes: Press Option-Shift-Comma (,).
Move the edit point right by one subframe: Press Option-Period (.).
Move the edit point right by 10 subframes: Press Option-Shift-Period (.).
For more information about subframes, see Zoom in to audio waveforms in Final Cut Pro for Mac.
Move edit points to the playhead or skimmer position
You can adjust selected edit points in the timeline, either as a ripple edit or as a roll edit, using keyboard shortcuts.
In the Final Cut Pro timeline, select the edit point you want to adjust.

Note: For a roll edit, select both sides of the edit point with the Trim tool.
Position the playhead or the skimmer at the point in the timeline to which you want to move the edit point.

Choose Trim > Extend Edit (or press Shift-X).
The edit point is extended (or shortened) to the playhead or skimmer position.
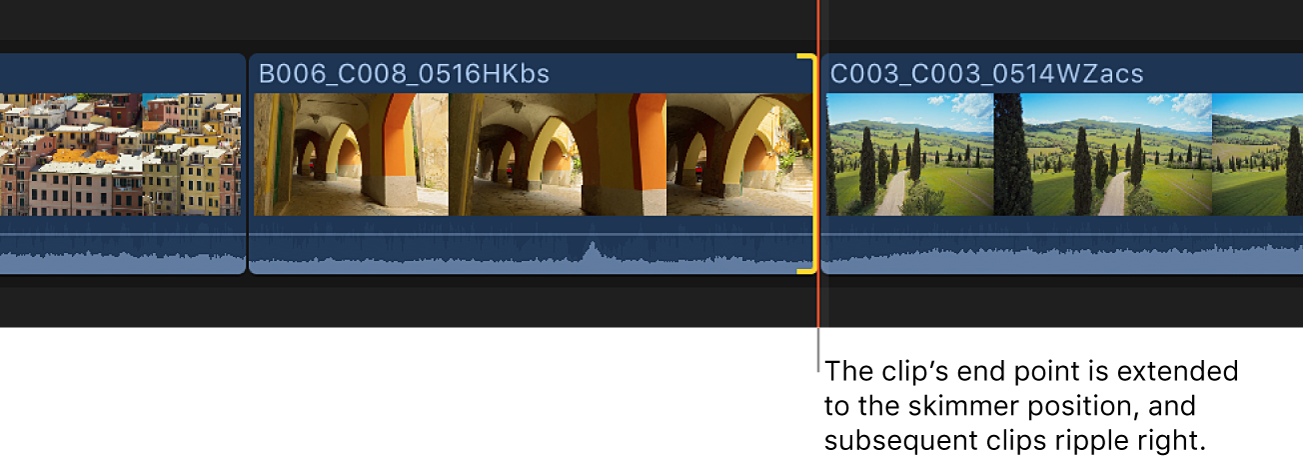
In the example above, if you selected the end point of the clip, subsequent clips in the timeline are rippled accordingly. If you selected both sides of the edit point with the Trim tool, the right clip is shortened (with a roll edit) and no clips ripple.
Trim edit points using timecode
You can trim clips numerically by entering timecode values.
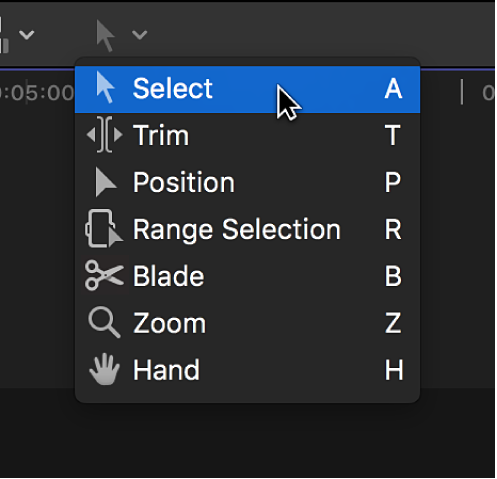
In Final Cut Pro, if the Select tool is not the active tool, click the Tools pop-up menu in the top-left corner of the timeline and choose Select (or press A).
In the timeline, select the start point or the end point of the clip you want to trim.
To trim the edit point, do one of the following:
Move the edit point forward: Press the Plus Sign (+) key, type a timecode duration for the trim, and press Enter.
Move the edit point back: Press the Minus Sign (–) key, type a timecode duration for the trim, and press Enter.
The timecode display below the viewer shows the duration of the trim.
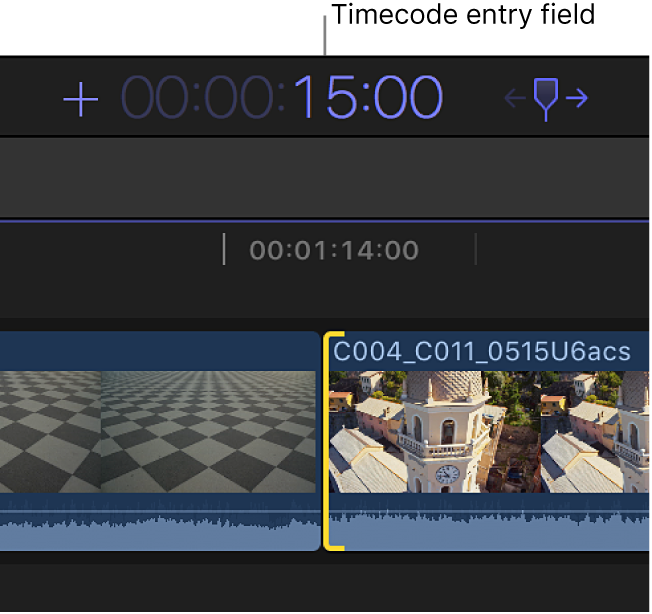
The clip is shortened or extended by the amount of time you entered, and subsequent clips in the timeline are rippled accordingly.
Note: You can’t extend a clip beyond its maximum duration.
For more information and tips on entering timecode, see Navigate using timecode in Final Cut Pro for Mac.
Cut the start or end of a clip at the playhead
Some of your video clips may have sections at the beginning or the end that you don’t want to include in your project. You can easily trim off these ranges with a single command, even while playing back the project. No selections are required. This type of edit is sometimes called a top and tail edit.
In the Final Cut Pro timeline, position the playhead or the skimmer on the frame at which you want to trim the clip.
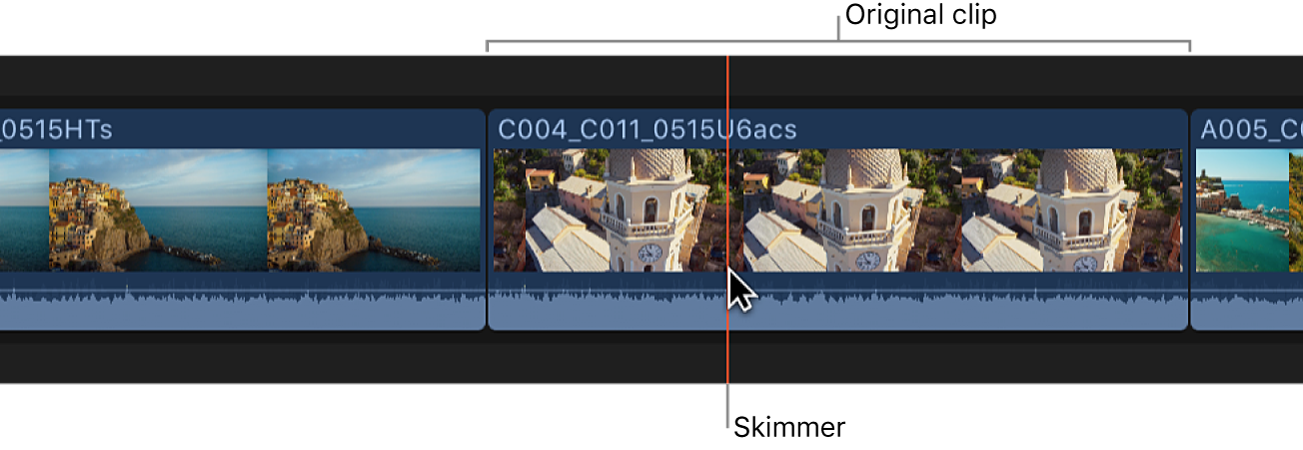
Do one of the following:
Trim off the start of the clip: Choose Trim > Trim Start, or press Option-Left Bracket ([).
Trim off the end of the clip: Choose Trim > Trim End, or press Option-Right Bracket (]).
Trim the edit point closest to the playhead: Choose Trim > Trim to Playhead, or press Option-Backslash (\).
The clip is trimmed to the playhead (or skimmer) position, and the timeline is updated accordingly.
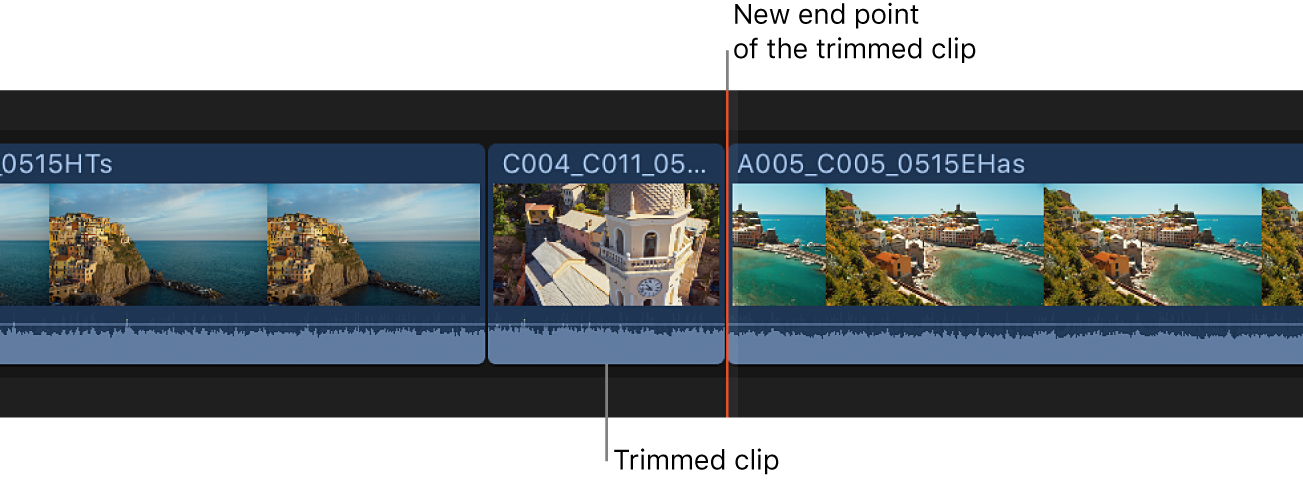
In the case of connected clips or storylines, the selected clip is trimmed. If there’s no selection, the topmost clip is trimmed.
Align audio to video
At any time, you can align audio to video for clips or components in your project to make the video and audio start and end points match. This clears any split edits you made.
You can select multiple clips or components.
In the Final Cut Pro timeline, select the clips or components you want to align.
Choose Trim > Align Audio to Video.
Note: If you’re working on numerous split edits throughout your project, you might find it convenient to show expanded audio by displaying audio roles in separate lanes. See Organize the timeline with audio lanes in Final Cut Pro for Mac.
Download this guide: Apple Books | PDF