Import media and create AIVU files in Apple Immersive Video Utility
Apple Immersive Video Utility lets you import and view Apple Immersive Video at any point in the production process.
Depending on your workflow needs, you can import Apple Immersive Video media using any of three different configurations:
As a standalone media file: To review a work in progress, you can import a lower-quality HEVC MP4 file and the Apple Immersive Media Embedded (AIME) metadata file generated by the camera on set during the shoot. Or you can import a finished Apple Immersive Video Universal (AIVU) file at delivery-spec quality.
As an AIVU file: To review Apple Immersive Video at the highest quality, you can import a folder containing associated high-bit-rate MV-HEVC video files, AIME metadata files, audio files, and optional presentation track file, then have Apple Immersive Video Utility package them as a single AIVU file.
As a remote HLS stream: To stream Apple Immersive Video to Apple Vision Pro or to test delivery, you can import an HTTPS live streams (HLS) .m3u8 playlist file that points to an AIVU file with complete metadata, audio, and video files. Or you can add a URL path that points to an existing .m3u8 playlist file.
For more information about requirements, see Requirements for Apple Immersive Video Utility.
Import a standalone media file on Mac
Use this method to import either a low-quality, HEVC MP4 file and its AIME file, or a finished AIVU file at delivery-spec quality.
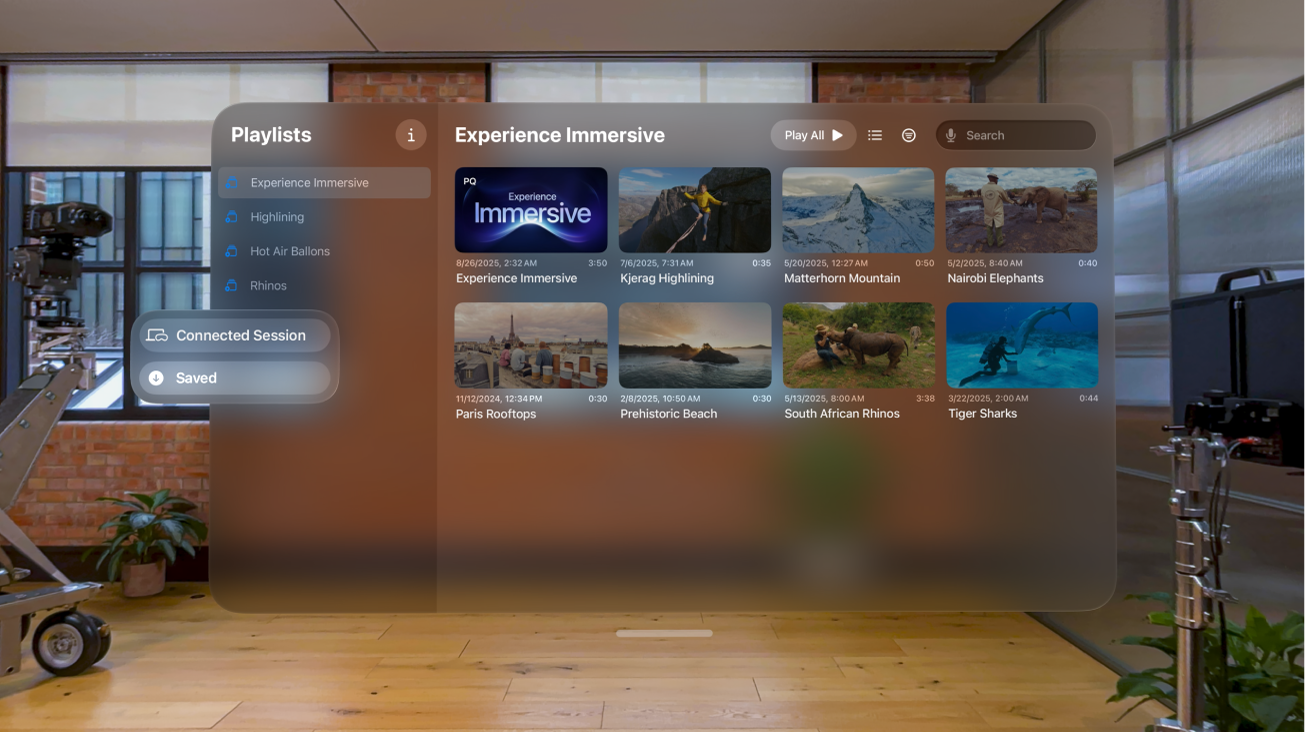
In Apple Immersive Video Utility on Mac, select the playlist you want to import media to.
Click
 in the toolbar, choose Import Media, then select the media file you want to import.
If you want to use HDR (high dynamic range) PQ color space, select the PQ P3-D65 checkbox.
To see the PQ P3-D65 checkbox, you may need to click Show Options at the bottom of the dialog.
Click Open.
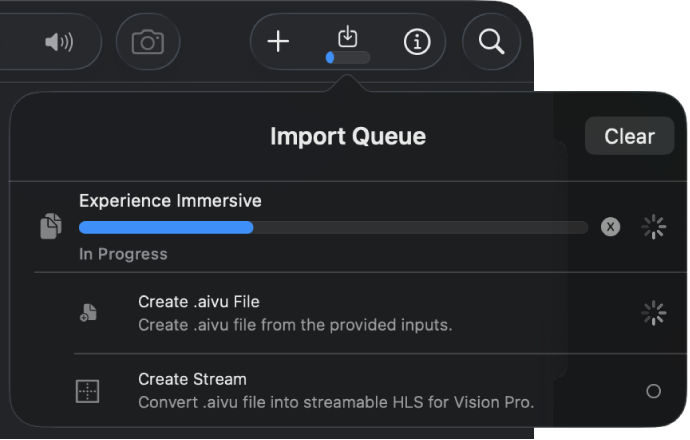
The import queue opens, showing import progress. When the file finishes importing, it’s added to the selected playlist.
Create an AIVU file on Mac
Use this method to import all the files required to create a high-quality packaged AIVU file. To check the requirements for AIVU files, see Requirements for video and audio.
In Apple Immersive Video Utility on Mac, select the playlist you want to import media to.
Click
in the toolbar, then click Create .aivu File.Note: To import multiple packages at the same time, Command-click to select multiple folders, or click one folder containing multiple folders. During import, Apple Immersive Video Utility separates the folders and relevant metadata combinations.
In the dialog, select a folder that contains the following required files:
An MV-HEVC video file
An AIME metadata file
An MP4 audio file encoded in Apple Spatial Audio Format (ASAF)
A presentation track file to signal camera changes and transitions
If you want to use HDR PQ color space, select the P3-D65 PQ checkbox.
To see the P3-D65 PQ checkbox, you may need to click Show Options at the bottom of the dialog.
Click Open.
The import queue opens, showing import progress. When the files finish importing, they’re combined into a single AIVU file and added to the selected playlist.
Import an HLS stream or a remote stream on Mac
You can import an existing HTTPS live stream (HLS) packaged in another workflow, or a remote stream such as a network or server-hosted HLS. HLS and remote streams can be used for live feeds or for testing purposes.
Note: Remote streams play in 2D on Mac, but can be played with the stereoscopic view using Apple Immersive Video Utility on Apple Vision Pro.
In Apple Immersive Video Utility on Mac, click
in the toolbar.Do one of the following:
Add an HLS stream: Click Create .aivu file, select the folder that contains the .m3u8 playlist file, then click Open.
If there are multiple HLS streams, put each .m3u8 file into its own folder in the Finder. When you import, select the parent folder.
Add a remote stream: Click Remote Stream, add the URL path that points to the .m3u8 playlist file, then click Save.
Manage the import queue on Mac
In Apple Immersive Video Utility on Mac, do any of the following:
Open the import queue: Click
 in the toolbar.
Cancel an active import: In the import queue, click
 to the right of the importing item.
Close the import queue: Click outside the import queue.
Import or save media on Apple Vision Pro
If you have Apple Immersive Video files on your Apple Vision Pro, you can import them directly into Apple Immersive Video Utility on Apple Vision Pro. If your Apple Vision Pro is connected to a Mac, you can also save media from Mac to Apple Vision Pro so you can view them even when you’re not connected to a Mac.
Open Apple Immersive Video Utility on your Apple Vision Pro, then do either of the following:
Import Apple Immersive Video from your Apple Vision Pro storage: Tap Saved in the tab bar, tap Add Media, then choose the files you want from the Files app.
Tip: To share media to the Files app from another device (for example, a device that’s not signed in to your Apple Account), you can also use AirDrop, then import using the steps above.
Save Apple Immersive Video from your library on Mac to Apple Immersive Video Utility on Apple Vision Pro: Connect Apple Vision Pro to your Mac, pinch and hold a video in Apple Immersive Video Utility on Apple Vision Pro, then tap Save.
To view imported or saved files, tap Saved in the tab bar.
Import a remote stream on Apple Vision Pro
You can import a remote stream directly onto Apple Vision Pro without connecting to a Mac.
Open Apple Immersive Video Utility on Apple Vision Pro.
Tap Saved in the tab bar, then tap Add Stream and choose the stream you want to import.