If you can’t send email on your iPhone or iPad
If you can’t send email from the Mail app on your iPhone or iPad, there are a few things you can try.
Before you begin
There are a few things to keep in mind and check:
When you make an iOS or iPadOS backup in iCloud or iTunes, it backs up your mail settings, but not your email. If you delete or change your email account settings, previously downloaded email might be removed from your device.
Make sure that your device is connected to the internet.
Check with your email service provider to find out if there's a service outage.
Look for the Undo Send button in your Inbox or list of mailboxes. If Undo Send is available, the message has not been sent.
Learn what to do if you can't access your iCloud Mail, or you can't send and receive messages with your @icloud.com email address.
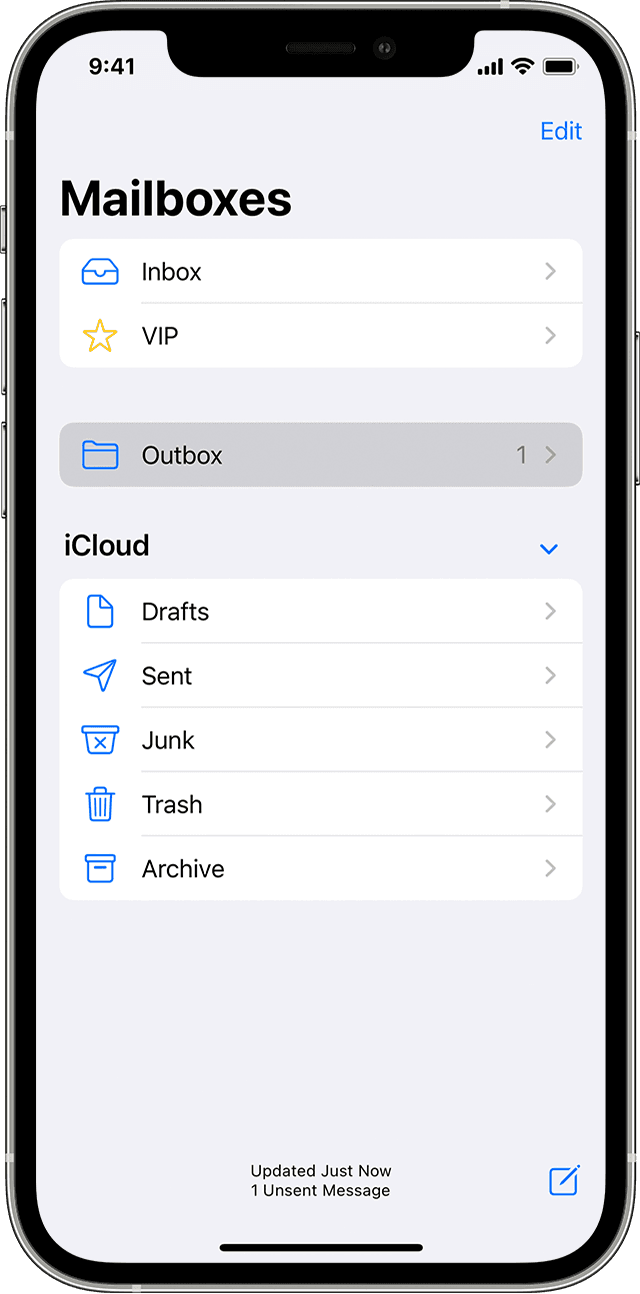
Check the Outbox for unsent email
If you get a message that says your email wasn’t sent, then that email goes to your Outbox. Check your Outbox and try to send the email again with these steps:
In Mail, go to your list of mailboxes.
Tap Outbox. If you don’t see an Outbox, then your email was sent.
Tap an email in the Outbox. Make sure that the recipient’s email address is correct.
Tap Send.
Check your email address and password
If Mail asks you to enter a password for your email account, make sure that your password is correct. To check your email address and password, sign in to your email provider's website.
If you still get a user name or password error, contact your email provider or system administrator.
Contact your email provider or system administrator
Contact your email provider or check their status webpage to see if there's a service outage.
Ask your email provider or system administrator if you turned on any security features or restrictions, like two-step verification, for your email account. You might need a special password or might need to request authorization from your email provider to send and receive email on your device.
Check your email account settings with your email provider or system administrator to make sure that they're correct.
Remove your email account and set it up again
On your computer, sign in to your email provider’s website. Make sure that all of your email is there or make sure that your email is saved somewhere other than on your iOS or iPadOS device.
On your device, go to Settings > Mail, then tap Accounts.
Tap the email account that you want to remove.
Tap Delete Account.
If the steps in this article don't help, contact your email service provider for more information.
