Use the CD or DVD drive from another computer with your Mac
The Remote Disc feature of your Mac lets you use files stored on a CD or DVD hosted from another computer.
Sharing discs
If your Mac doesn't have a built-in optical drive and you need to use a CD or DVD, you can connect an external drive like the Apple USB SuperDrive. You can also share discs from the optical drive of another Mac, or from a Windows computer that has DVD or CD Sharing Setup installed. DVD or CD sharing allows you to access documents stored on these discs, and allows you to install some software.
DVD or CD sharing isn't designed for some kinds of optical media. Connect a compatible optical drive directly to your Mac if you need to use one of these discs:
Audio CDs
Blu-ray or DVD movies
Copy protected discs (such as some game discs)
Recordable CDs or DVDs that you want to burn or erase
Microsoft Windows installation discs
If you have a Microsoft Windows install disc that you want to use with Boot Camp, you can create a disc image of this disc and copy it to a USB flash drive for installation instead.
Setting up a Mac to share discs
To share discs from a Mac that has a built-in or external optical drive, use these steps:
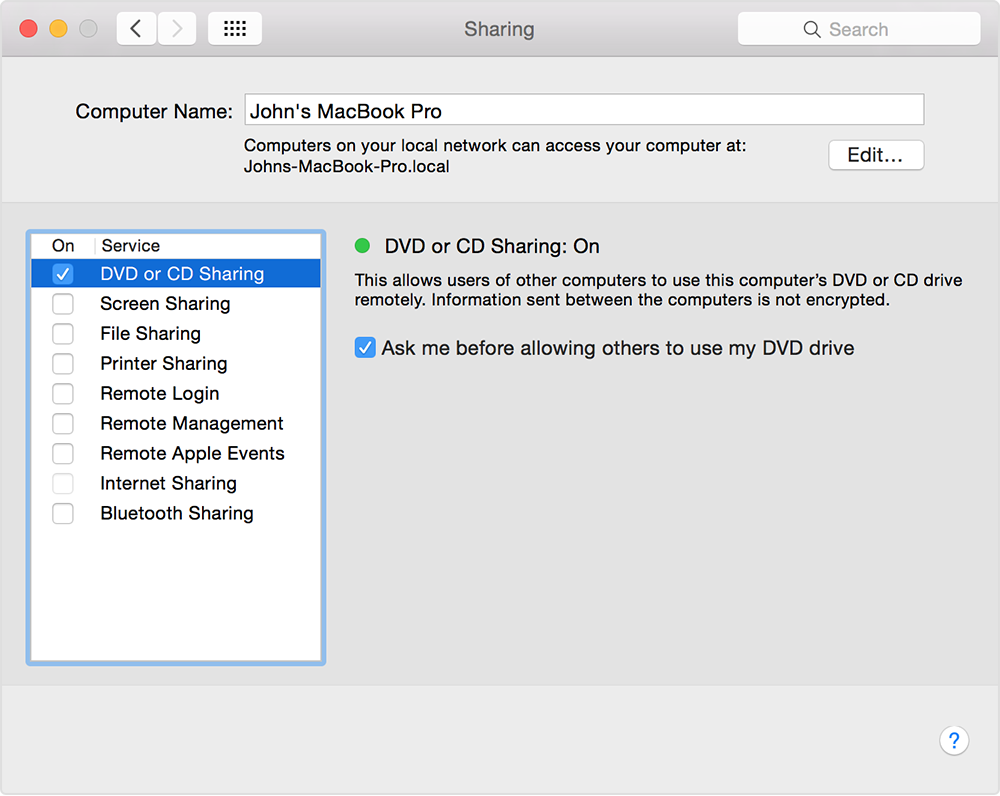
On the Mac that has an optical drive, choose System Preferences from the Apple menu.
Click the Sharing icon in the System Preferences window.
Make sure you've entered a name that you can easily recognize in the Computer Name field.
Enable the checkbox for DVD or CD Sharing.
You can also restrict who has access to your optical drive by selecting "Ask me before allowing others to use my DVD drive."
Setting up a Windows PC to share discs
To share discs from a Windows PC that has a built-in or external optical drive, use these steps:
Download and install DVD or CD Sharing Update 1.0 for Windows.
From Control Panel, open "Hardware and Sound"
Click "DVD or CD Sharing Options."
Select the checkbox for DVD or CD Sharing.
You can also restrict who has access to your optical drive by selecting "Ask me before allowing others to use my DVD drive."
If you're sharing discs from a Windows computer and your PC has firewall software enabled, be sure to allow access to the following programs from your firewall:
ODSAgent
RemoteInstallMacOSX
Use a shared DVD or CD
After you've enabled DVD or CD Sharing, you can use that computer's optical drive at any time. Insert a disc in the optical drive of the computer that's being shared. The disc should then be available on any Mac that's connected to the same network.
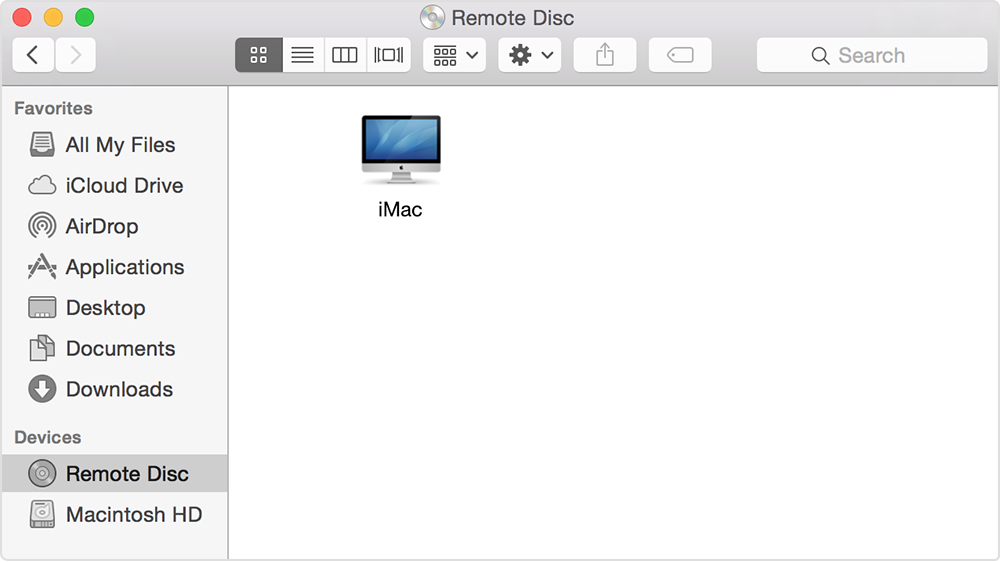
On the Mac that doesn't have an optical drive, open a Finder window.
Select Remote Disc in the Devices section of the sidebar. You should see the computer that has DVD or CD Sharing enabled.
Double-click the computer's icon, then click Connect to see the contents of the CD or DVD available from that computer.
If you can't use a shared disc
If your Mac already has a built-in optical drive, or an external optical drive connected, you won't see the Remote Disc feature appear in the Finder or other apps.
If you're using a compatible disc and you don't see it from Remote Disc, make sure the sharing computer is turned on, is connected to the same network as your Mac, and has a compatible CD or DVD in its optical drive. If you've enabled the option to ask for permission before using the drive, click Accept on the computer that is sharing its optical drive.
Information about products not manufactured by Apple, or independent websites not controlled or tested by Apple, is provided without recommendation or endorsement. Apple assumes no responsibility with regard to the selection, performance, or use of third-party websites or products. Apple makes no representations regarding third-party website accuracy or reliability. Contact the vendor for additional information.