How to set up policy banners in macOS
Learn how to set custom banners to appear at the login window on your Mac.

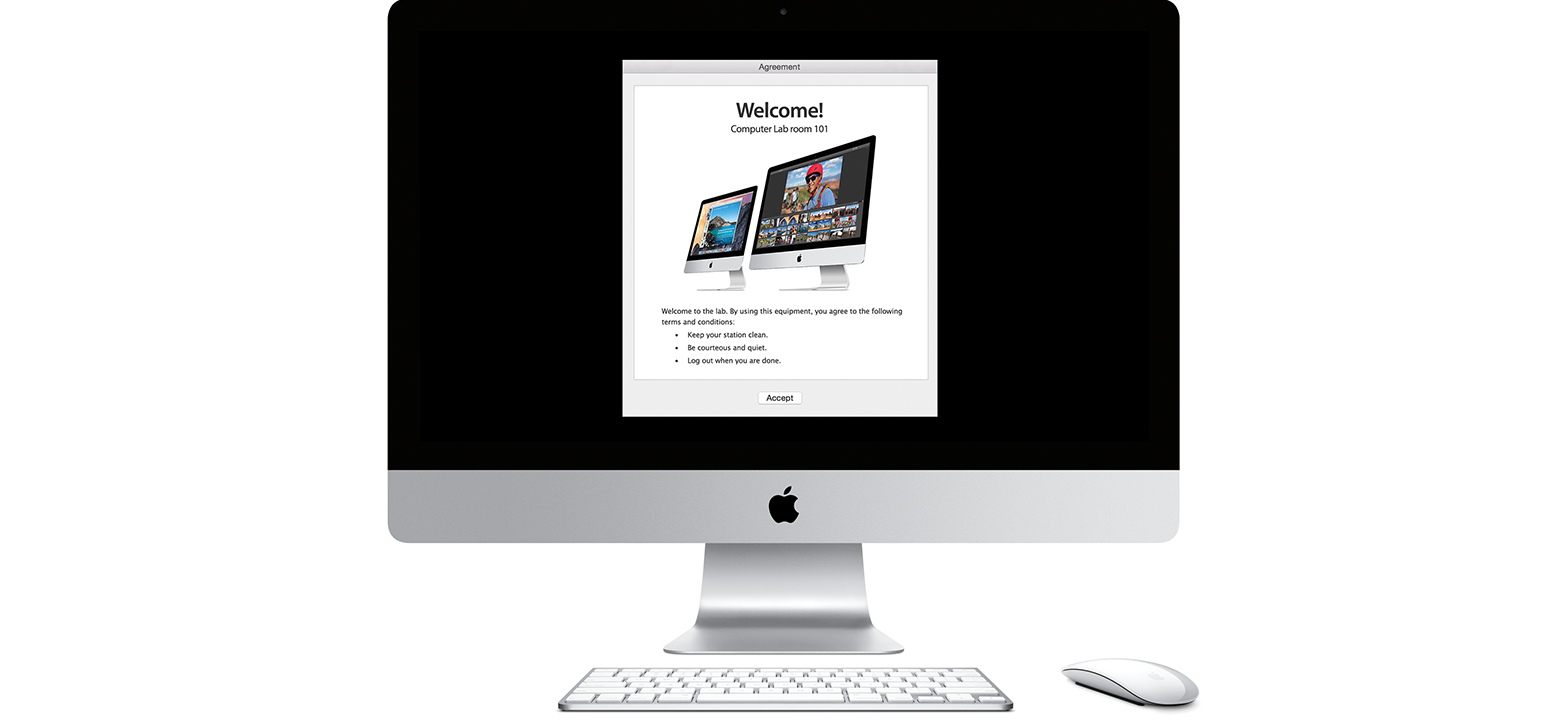
A policy banner is a banner that displays at the login window that requires you to acknowledge it before proceeding.
Learn about policy banners
You can set a login message that appears at the login screen of your Mac. You can also set a "policy" banner to display a longer message that you must accept before you can log in. This can be useful in situations where you need users to agree to or acknowledge terms or conditions before they can use the computer, such as an Acceptable Use Policy.
Create a banner
Create a plain text (.txt) or rich text (.rtf) document that contains your banner.
Choose File > Save, then enter PolicyBanner for the document name.
Copy the PolicyBanner file to the /Library/Security/ folder.
The next time you restart the computer, the banner appears when you would normally see the login screen.
If you don't see your banner
If you don't see your banner appear, check the following.
Check FileVault
If you use FileVault full disk encryption on your computer, the policy banner appears after the first user logs in, before the desktop appears. The first login is performed to unlock the startup disk.
Check your permissions
In some instances, you might need to adjust the permissions on the PolicyBanner file.
For .txt or .rtf files, set the permissions on the Policy Banner file so that Everyone (Other) has read privileges:
sudo chmod o+r /Library/Security/PolicyBanner.txt
sudo chmod o+r /Library/Security/PolicyBanner.rtf
For .rtfd files, adjust the permissions so Everyone (Other) has both read and execute privileges:
sudo chmod -R o+rx /Library/Security/PolicyBanner.rtfd
Update the Preboot volume
If the policy banner still doesn't appear, update the Preboot volume:
diskutil apfs updatePreboot /
Need more help?
Tell us more about what's happening, and we’ll suggest what you can do next.
