Find the serial number of your Magic Keyboard, Magic Mouse, or Magic Trackpad
Learn how to locate the serial number of your Magic Keyboard, Magic Mouse, or Magic Trackpad for your Mac.
Apple wireless keyboards
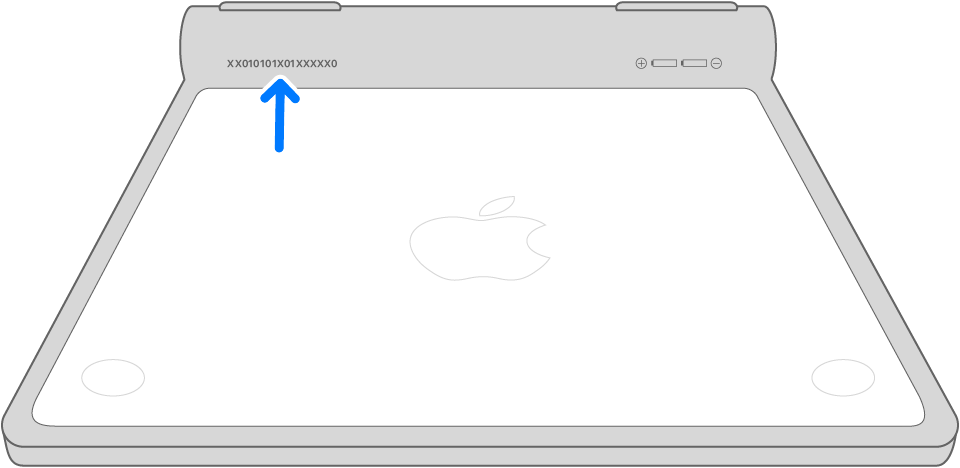
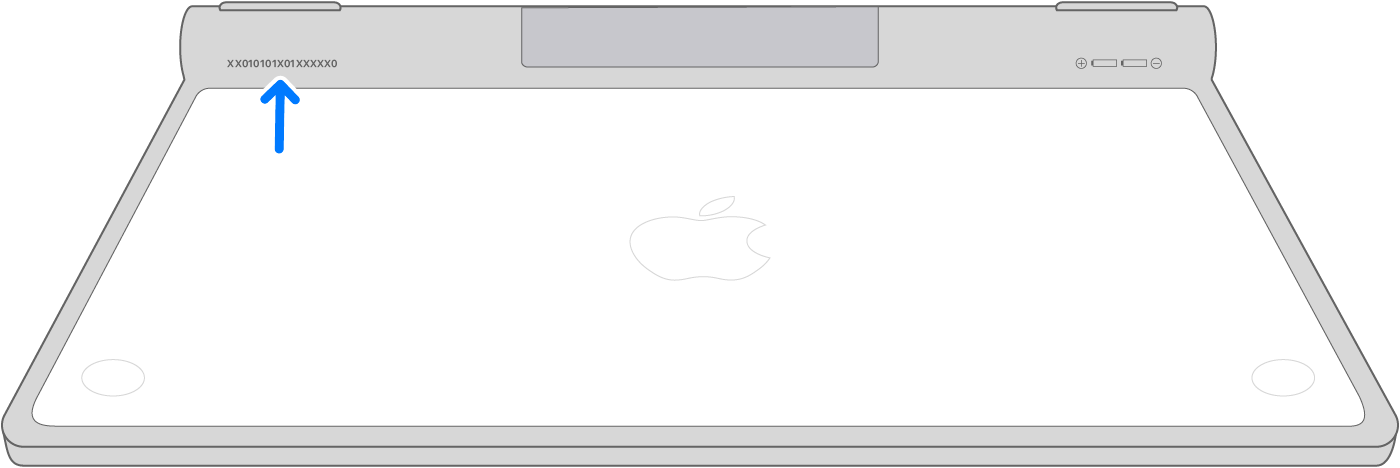
Magic Keyboard
The serial number of your Magic Keyboard is on the bottom surface of the device, along with other markings. It's a string of 17 or 18 letters and numbers.
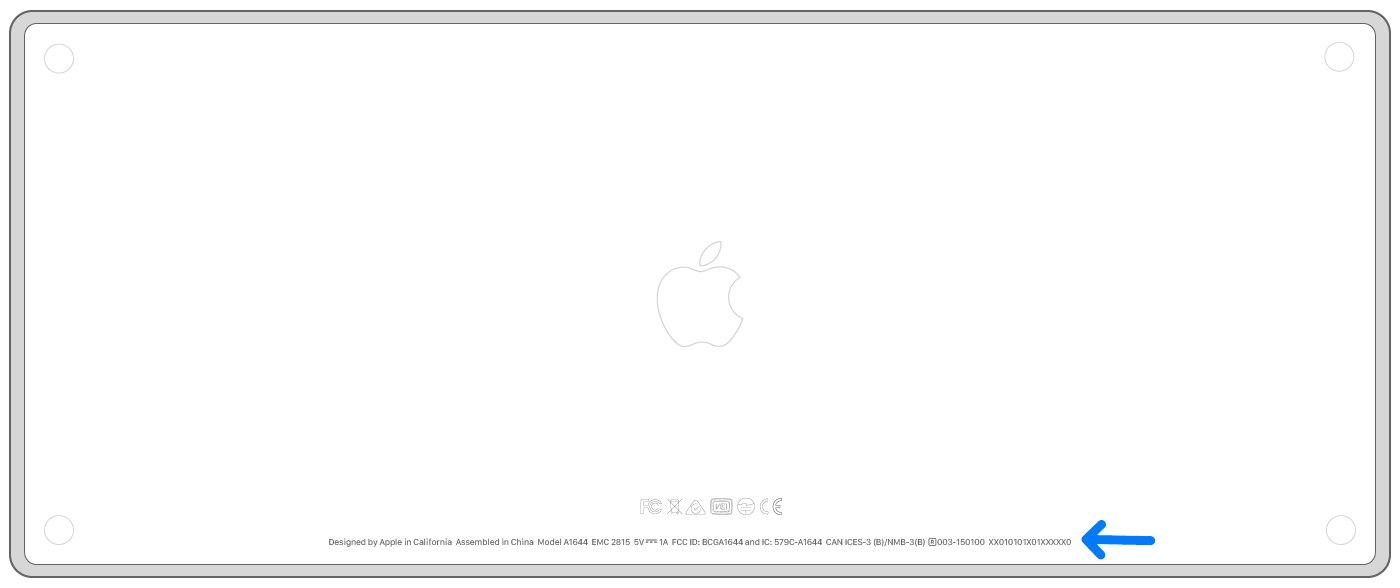
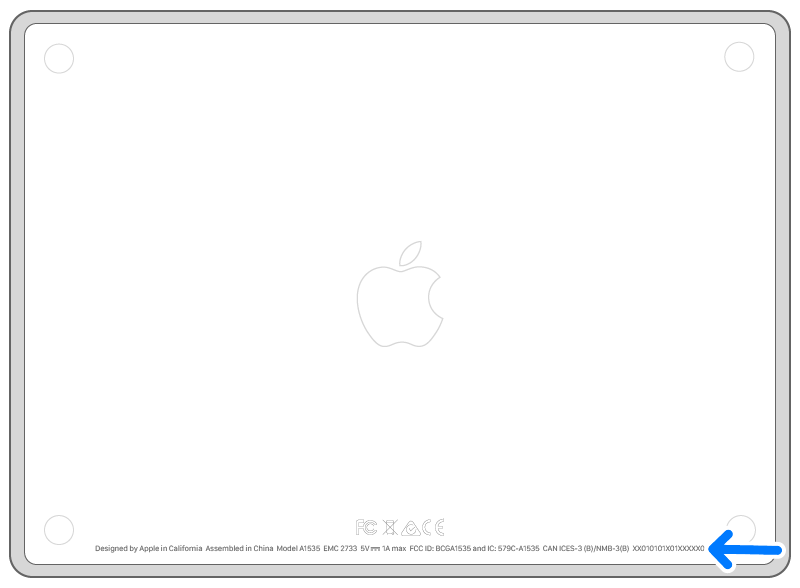
Earlier wireless keyboards
You can find the serial number of earlier Apple wireless keyboard models on the underside of the device, near the power button:
Apple wireless mice
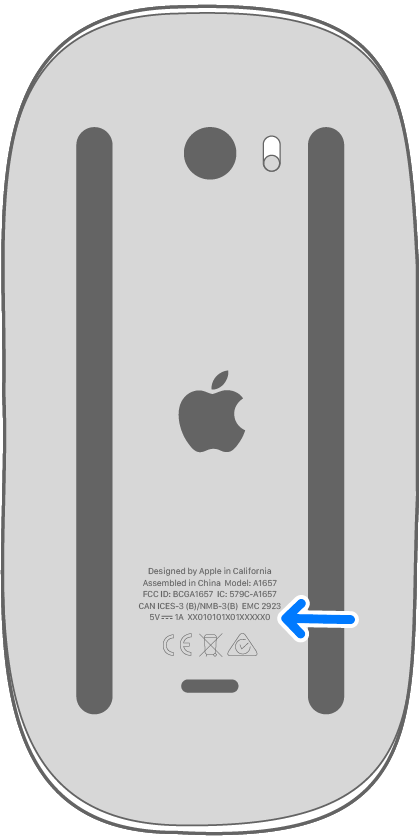
Magic Mouse
The serial number of your Magic Mouse is on the bottom surface of the device, along with other markings. It's a string of 17 or 18 letters and numbers.
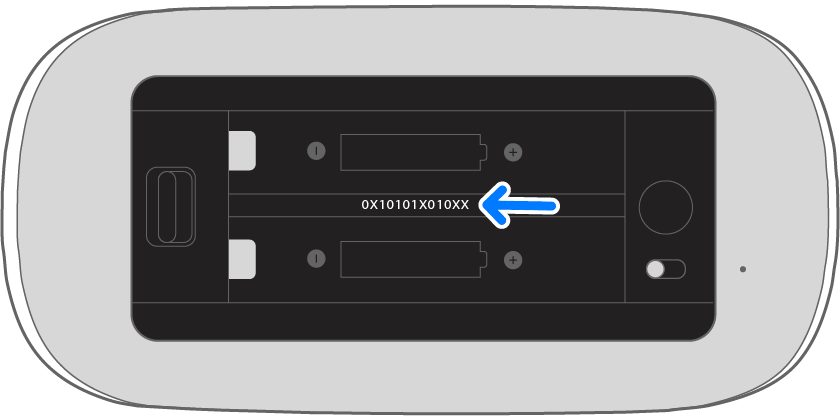
Earlier wireless mice
You can find the serial number of earlier Apple wireless mouse models inside the device's battery bay:
Apple wireless trackpads
Magic Trackpad
The serial number of your Magic Trackpad is on the bottom surface of the device, along with other markings. It's a string of 17 letters and numbers.
Earlier wireless trackpads
You can find the serial number of earlier Apple wireless trackpad models on the underside of the device: